
The importance of professional tiling
Tiles are one of the most important elements of all bathroom designs. Not only do they serve an essential practical purpose, the way they look is all-important to making sure the appearance of any bathroom comes together.
You know how much work goes into ensuring your bathroom tiles look professional. Every stage of the process requires your expert precision, from removing the old tiles to preparing the surfaces and installing the new ones. Your client will have chosen tiles with a particular idea in mind, so it’s important the finished job matches their vision.
The tips below are about bathroom tiles, but they apply to tiling in every room. You can use them as a memory refresher when approaching your next tiling job.
-
1. Getting started
Before you begin, there are a few things you’ll need to do first.
Get your safety equipment together
It goes without saying that safety is paramount and the right tools lead to a safe job. Of course, that means goggles and protective gloves, but also make sure your bolster chisel has a handguard.
Protect the room’s features
Bathroom fixtures and fittings like basins and bathtubs should be covered with a sheet to prevent chips of tile damaging them. Time is money, so put a floor protection sheet over the floor to protect it and to make the clean-up afterwards easier.
Measure up
To save as much money as possible, measure the room precisely to decide how many tiles you’ll need, discounting any areas that will eventually have bathroom fixtures and fittings placed on them. These measurements will also determine what quantities of grout, mortar and backing board you order.
-
2. Removing tiles
If you’re renovating an existing bathroom, you’ll already be carving out time in the schedule to remove the old bathroom tiles before you put the new ones in. Methods vary, but here is a general overview of the steps involved.
Step 1: Loosen the existing tiles
Your usual method is probably putting a bolster chisel at the edge of a tile and hitting it with a club hammer. You can also use a rotary tool with a grout cutting attachment to slice straight through the grouting.
Step 2: Pry the tiles up
Slide a putty knife under the edge of the tile and move it gently until the tile is loose enough to pry away from the wall or floor.
Step 3: Prepare the surface
Prepare the newly tile-free surface of the wall for the new tiles. Scrape away any remnants of adhesive or cement mortar using a paint scraper or a bolster chisel, depending on the type of fixative used. Afterwards, sand the surface smooth and fill in any holes, if required.
-
3. How to tile a bathroom floor
Below is a quick step-by-step guide to installing bathroom tiles. Note that most of these steps would be the same for other rooms.
Step 1: Lay the underlayment
If tiling on to an uneven surface, putting down an underlayment will make the job of laying floor tiles much easier by creating a smoother surface. Cut the panels to the right size, and cut out spaces for any bathroom fittings like the toilet or sink. If using a backing board attach to the underlayment and the subfloor with screws and a power drill.
If tiling onto chipboard flooring use an SBR primer and sealer prior to the application of the tile adhesive.
Step 2: Plan the tile configuration
Of course, different bathroom tile patterns will involve different amounts of planning before you start using adhesive. You’ve probably discovered that even simple bathroom design ideas require advance planning, as you work out how you’ll lay out the tiles in a way that makes the most of the space and avoids unnecessary cutting of tiles.
Once you’ve established how many tiles will need to be trimmed to fit, cut them to size with a tile saw. Check all the tiles fit properly in the space before you move onto the next step.
Step 3: Apply the mortar
Use a notched trowel to spread the appropriate tile adhesive over the floor, placing the tiles as you go and keeping them in position using spacers. Then leave to dry for according to the manufactures adhesive instructors.
Step 4: Apply the grout
With the adhesive dry, move the spacers out of the way and fill the spaces in between each tile. When you’re finished, carefully wipe away all excess grout using a damp sponge. Make sure you don’t leave any hard-to-remove smears. Again, follow the grout manufactures instructions.
Step 5: Seal the grout
Applying a sealant to the grout will make it last longer and will help prevent stains.
You can also watch a video by our supplier EVO-STIK on how to tile a floor…
-
4. How to tile a bathroom wall
As always, the exact process you follow will differ depending on the particular requirements of the renovation project you’re working on, but as a rule these steps will be involved.
Step 1: Mark out your tile height
Measure the height of your bathroom tiles and mark a line in pencil 20mm below it on the wall. This is called a datum line. Next, put in a wooden batten along the datum line, with the top edge of the batten meeting the datum line. Whip out your spirit level to check that it’s level.
Step 2: Install the waterproofing
If using a tile backer board, cut the panels to size and fix to the wall using the appropriate screws or adhesive. If tiling a wet area prime and seal the wall with a suitable product such as an SBR sealant.
Step 3: Trim tiles to size
The last tile in each row might need to be cut to fit the space. Measure the space carefully and then pre-cut tiles to size before you start tiling.
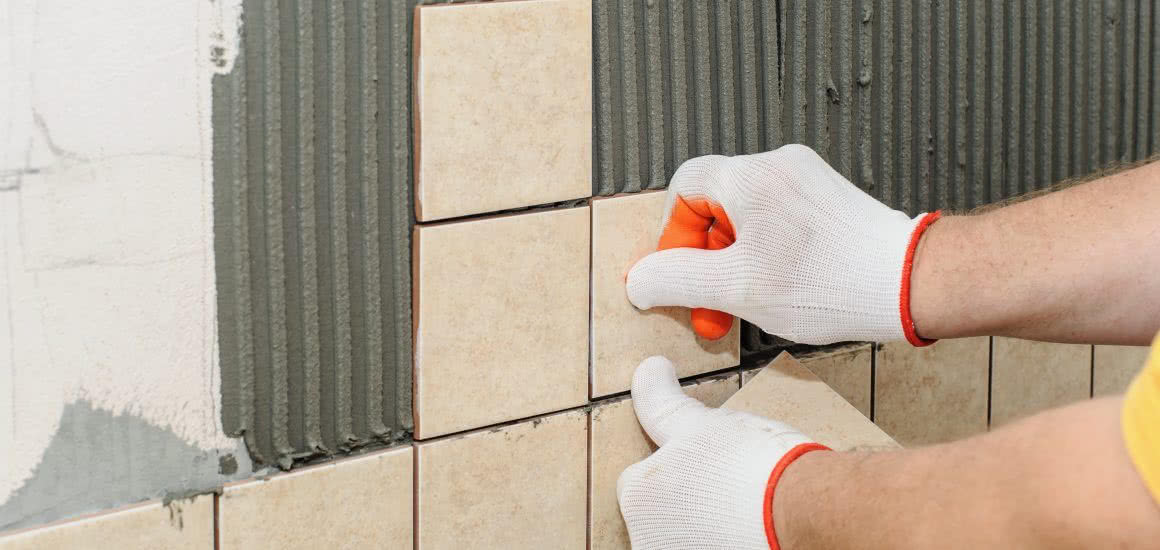
Step 4: Affix the tiles
Mix your tile adhesive and use a notched trowel to apply it to the wall. Lay the first row of tiles along the batten, keeping them even with spacers and checking them with a spirit level as you go. Repeat until the entire area is tiled.
Step 5: Apply the grout
Just as with floor tiles, the grout will need to be applied neatly after the tile adhesive has dried. Remove the spacers and apply the grout between the tiles, making sure any excess is removed and marks are wiped away. When the grout is dry (around 24 hours later) protect it with a sealant.
Watch Dunlop’s video on how to tile a kitchen or bathroom, their YouTube channel has loads of inspiration as well…
-
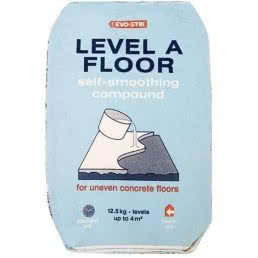
Floor levelling compounds >
-
Glass and tile cutting tools >
-
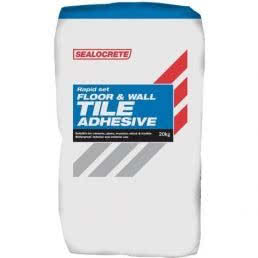
Tile adhesives and grouts >
-
Tiling >
FAQs
-
Do different types of wall need different preparation before tiling?
To some extent, but the steps are broadly the same. Whether you’re working with drywall or a plasterboard wall, you’ll need to fill in any cracks and sand the wall smooth. Drywall will have to be sealed with a drywall compound prior to sanding.
-
How do I tile a bathroom floor?
You can follow our quick step-by-step guide when laying bathroom tiles, which includes:
- Laying the underlayment
- Planning the tile configuration
- Applying the mortar
- Applying the grout
- Sealing the grout
-
How do I remove tiles from the bathroom?
There are 3 key steps to follow when removing bathroom tiles.
- Loosen the existing tiles
- Pry the tiles up
- Prepare the surface
Watch a video by Be Your Own Handyman @ Home