
Tiling a bathroom wall is a likely job you’ll find yourself doing when you’re updating a customer’s bathroom space or creating a brand-new one. Tiles are a fantastic option for the walls in bathrooms and washrooms as they’re waterproof, easy to install and come in a variety of colours, finishes and styles to match your customer’s vision and preferences.
Whether you’re new to the trade or just need a quick refresher, you might be wondering where to start when tiling bathroom walls. First, you’ll want to make sure you have all the necessary tiling supplies to hand to get on with the job. Your customers can pick out their perfect wall tiles from our extensive range: whether they’re after contemporary matt black, marble effect or simplistic white tiles, we’ve got something for every project at Selco.
Every stage of the process will require your expert precision, from removing the old tiles, to preparing the surfaces and installing the new ones. In this blog, we’ll run through how to tile a bathroom wall step-by-step, including how to remove old tiles, how to prepare a wall for tiling, and our best wall tiling tips. Although this blog is about bathroom tiles, the steps can be applied to tiling jobs in every room.
Remember to check out our other bathroom blogs for more advice, inspiration and handy step-by-step guides such as how to seal a bath or shower or how to install underfloor heating.
Top Tip: You might want to paint your bathroom ceiling first. This way you won’t have to worry about cutting in at the edges or splashing your brand-new wall tiles with paint as you would if you painted the ceiling after tiling the walls.
Step 1: Preparation and getting started
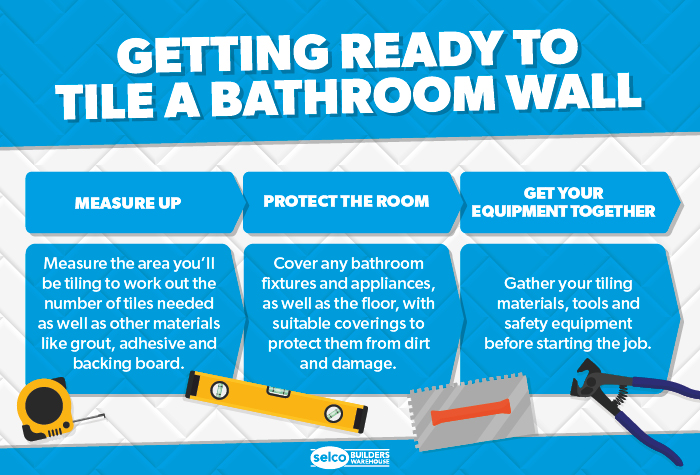
Before you begin, there are a few things you’ll need to do to prepare for tiling bathroom walls.
- Measure up - to save as much time and money as possible, measure the room precisely to decide how many tiles you’ll need, discounting any areas that will eventually have bathroom fixtures and fittings placed on them. These measurements will also determine the quantities of grout, mortar and backing board that you will order.
- Protect the room’s features - bathroom fixtures and fittings like basins and bathtubs should be covered with a sheet to prevent chips of tile damaging them. Time is money, so put a floor protection sheet over the floor to protect it and to make the cleaning-up afterwards easier.
- Get your safety equipment together - it goes without saying that safety is crucial and the right tools lead to a safe job. Make sure you’ve got the right PPC, such as goggles and protective gloves, and that your bolster chisel has a handguard.
Equipment you’ll need:
You might be wondering: what do I need to tile a wall in a bathroom? The exact materials and tiling tools needed will depend on the requirements of the job at hand, but generally you’ll want to pick up the following:
- Wall tiles
- Tape measure and chinagraph pencil
- Spirit level
- Bolter chisel, club hammer and putty knife
- Tile cutter, scorer, nipper and snapper
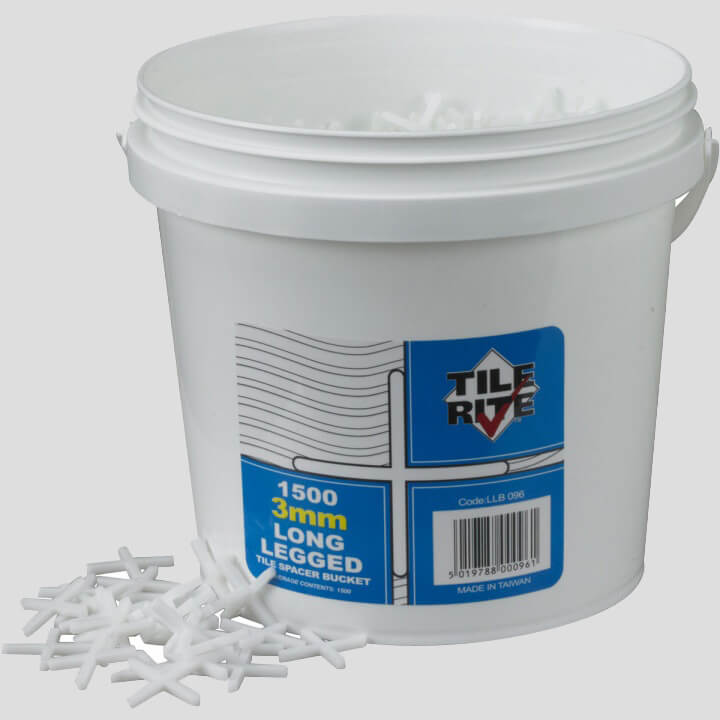
- Tile spacers
- Bucket and mixing paddle
- Tile adhesive and grout
- Sandpaper and filler
- Cloths and sponges
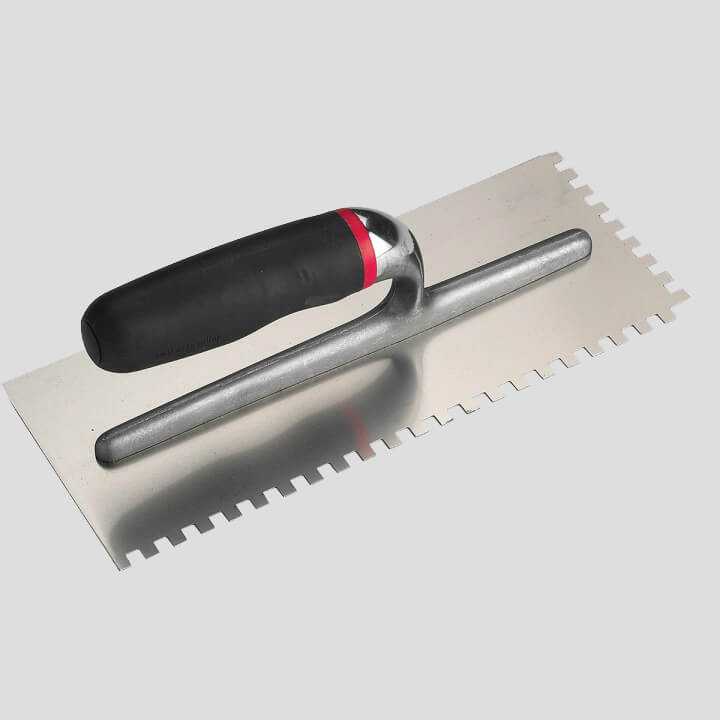
- Notched trowel
- Grout float
- Tile trims
The number of tiles, adhesive, grout and everything else you’ll need will depend on the area that you’re tiling – are you tiling a small bathroom, a large wet room, or a narrow washroom? Half-height tiling in bathrooms is a popular style in which only the top or bottom half of the wall is tiled. An average bathroom half wall tile height might be around 1.2-1.8m, but it entirely depends on the job at hand!
Step 2: Removing old tiles
If you’re refreshing an existing bathroom, you’ll need to carve out some time in the schedule to remove the old bathroom tiles before you put the new ones in. Methods of doing this can vary, but here is a general overview of the steps involved.
- Loosen the existing tiles - the usual method is by putting a bolster chisel at the edge of a tile and hitting it with a club hammer. You can also use a rotary tool with a grout cutting attachment to slice straight through the grouting.
- Pry the tiles up - slide a putty knife under the edge of the tile and move it gently back and forth until the tile is loose enough to pry away from the wall or floor.
- Prepare the surface – now to prepare the newly tile-free surface ready for the new tiles: scrape away any adhesive or mortar using a paint scraper or bolter chisel, sand the surface smooth and fill in any holes. Keep reading to find out more about preparing different types of wall surfaces for tiling.

Step 3: How to prepare a wall for tiling
One of the most important factors in tiling a bathroom wall is prepping the wall surface. You can apply wall tiles to many surfaces if they’re smoothed and prepared properly.
Remember that you won’t be able to tile over glossed surfaces, lead paint, plywood or wallpaper. If your customer has lead paint on their bathroom walls, this needs to be removed very carefully - make sure you always wear safety goggles, a face mask, coveralls and shoe covers to avoid spreading toxins.
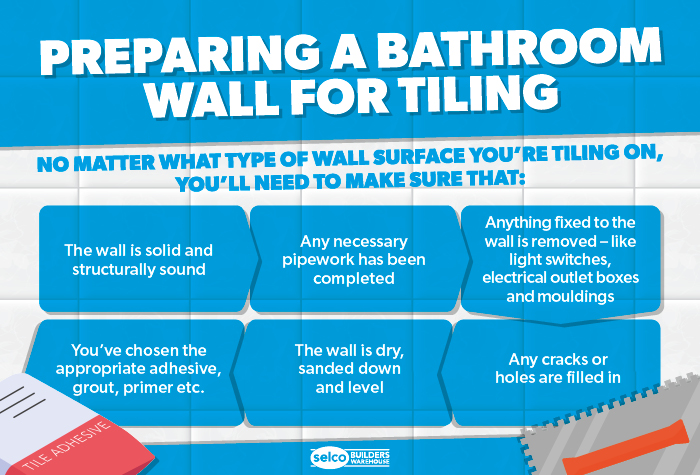
No matter what type of wall you’re working with, you’ll need to make sure that:
Tiling on plasterboard / drywall
When you’re tiling on fresh plasterboard (also known as drywall), or fresh plaster, you won’t need to tape the drywall joints. Seal the walls with a final layer of skim coat then use a medium-grade sandpaper to sand it down. Make sure not to sand the surface too smooth – leaving a slightly rough texture will help the tile adhesive get a good grip on the wall. You can then vacuum the wall and give it a once over with a damp cloth to get rid of any dust. Allow the wall to fully dry before applying your tile adhesive.
Tiling on painted or textured drywall
First, scrape away any flaking or peeling paint and any residual lumps and bumps, then fill in any cracks or holes with a suitable filler or spackling compound, then sand down the wall with a medium grit sandpaper. Vacuum the wall to remove dust, then you can use an ammonia-based cleaner to remove any grease or oil from the wall. Make sure the wall is completely dry before applying your tile adhesive.
Tiling on plaster
If you’re tiling over old plaster, you’ll need to make sure it’s suitable based on its age and condition – it might be too old or weak to withstand tile installation and if so, it might need removing and fresh plasterboard applying. Patch up any cracks or holes, sand the surface down, and use a suitable primer before applying your tile adhesive.
You can apply wall tiles to many surfaces if they’re smoothed and prepared properly. You cannot tile over glossed surfaces, lead paint, plywood or wallpaper. If your customer has lead paint on their bathroom walls, this needs to be removed very carefully - make sure you always wear safety goggles, a face mask, coveralls and shoe covers to avoid spreading toxins.
Remember: Since you’re tiling in a bathroom, you need to make sure everything you use is water-resistant due to the high moisture levels. Ensure your customer has chosen water-resistant wall tiles that are suited to bathrooms and can withstand high temperatures and humidity.
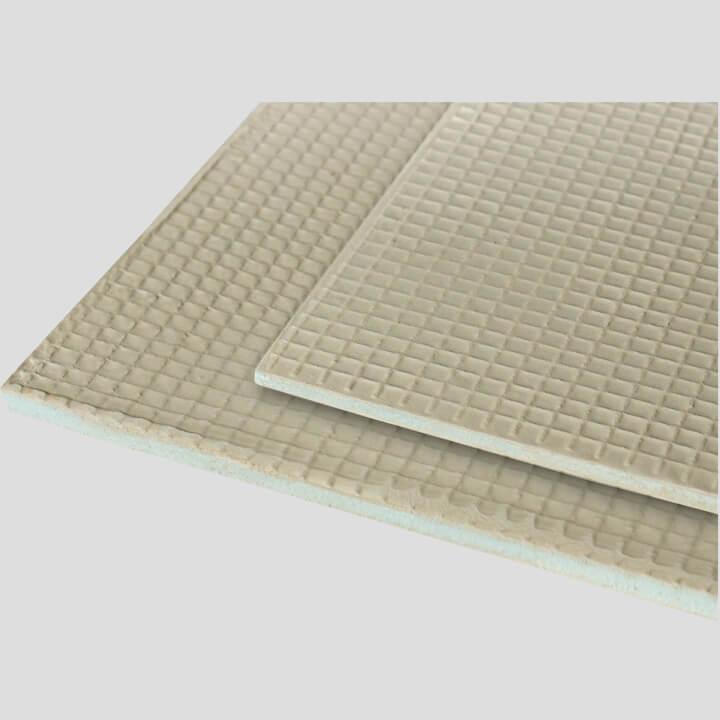
Step 4: Installing Tile Backer Board
Your customer might want to use cement tile backer boards instead of tiling straight onto drywall especially in high-humidity areas. Using standard plasterboard in wet areas can lead to lots of issues such as the gypsum disintegrating or the paper layers growing mould. Cement backer boards are ideally suited to areas such as kitchens and bathrooms as they’re designed to withstand exposure to moisture while providing a stable, flat surface for the tiles to be installed onto. If you’re tiling around a bath or tiling shower walls, you can use cement backer board - shower tiling jobs will need to be completely waterproof.
Tile backer board, such as HardieBacker, can be cut to size and screwed into stud walls and masonry walls. If you’re wondering how to fix tile backer board to a wall, we’ve laid out some steps for you below:
Stud wall installation
HardieBacker® 12mm is recommended for wall application for thickness transition with other products.
- Ensure the stud framing is structurally sound
- It must comply with local building regulations.
- Max stud centres = 400mm (ensure that all corners are adequately blocked with suitable timber).
- Any old dry lining should be removed as it has the potential to fail further.
- Decide the layout of the boards
- The boards can be installed vertically or horizontally.
- Ensure all vertical joints are made on the centre of the studs.
- Score-and-snap boards to required sizes and make necessary cut-outs.
- Install 12mm boards to framing
- See applicable building regulations regarding vapour barrier requirements.
- Use HardieBacker® screws or 30mm galvanised roofing nails when using timber studs.
- Install boards 6mm above the floor, bath, and shower tray. These floor and wall joints should be filled with a 6mm bead of high-quality wet area sealant.
- Keep fixings 15mm from board edges and 50mm in from sheet corners.
- Set heads of fixings flush with the surface, without overdriving.
- Tape joints prior to tiling
- Prior to setting the tiles, embed 50mm alkaline-resistant Fibatape across joints and feather tile adhesive to leave a 150mm wide joint.
Masonry wall installation
HardieBacker® 6mm can be used on top of masonry walls.
- Ensure the wall is sound, clean, dry and ready to receive the tile backer board.
- The rear of the board must be wiped down to remove dust.
- Any old dry lining should be removed as it has the potential to fail further.
- Use a high-strength gap filling adhesive
- Place 3 vertical 10-12mm beads of high-strength, single-part, gap filling cartridge adhesive evenly down the back of the board.
- Press the board firmly against the wall into position.
- Fasten HardieBacker® 6mm with masonry anchors
- Fasten board with 9 (6mm x 60mm) stainless steel screws into brown wall plugs. Screws should remain 100mm from the top and bottom edges and 50mm from the left and right edges. Ensure a minimum 50mm embedment into the wall.
- Do not overdrive the screw - it should be flush with the face of the board.
- Tape joints prior to tiling
- Prior to setting the tiles, embed 50mm alkaline-resistant Fibatape across joints and feather tile adhesive to leave a 150mm wide joint.
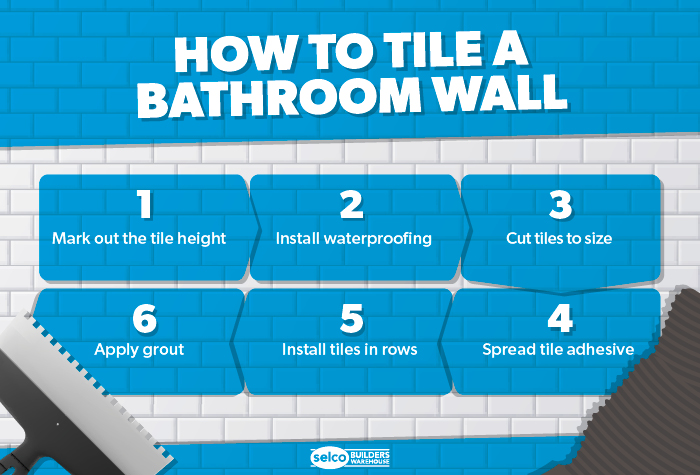
Step 5: How to tile a bathroom wall
As always, the exact process you follow will differ depending on the requirements of the renovation project you’re working on, but the following steps will be involved.
- Mark out your tile height
- Install the waterproofing
- Trim your tiles to size
- Install the tiles
- How to grout wall tiles
Measure the height of your bathroom tiles and mark a line in pencil 20mm below it on the wall - this is called a datum line. Next, put in a wooden batten along the datum line, with the top edge of the batten meeting the datum line. Whip out your spirit level constantly throughout the tiling process, to check that everything’s level.
If you’re using a tile backer board, this is where you’d cut the panels to size and fix them to the wall using the proper screws or adhesive. If you’re tiling a wet area, prime and seal the wall with a suitable product, such as an SBR sealant. There are various other bathroom waterproofing accessories too, such as waterproof membranes to seal around baths and shower trays.
The last tile in each row might need to be cut to fit the space perfectly. Measure the space carefully and then pre-cut tiles to size before you start tiling.
Mix your water-resistant tile adhesive and use a notched trowel to apply it to the wall. Lay the first row of tiles along the batten, keeping them even with tile spacers and checking them with a spirit level as you go. Repeat until the entire area is tiled.
As with any tiling job, tile grout needs to be applied neatly after the tile adhesive has completely dried. Mix your grout with water (if needed – follow the manufacturer’s instructions) before loading your trowel with grout. Apply the grout generously and evenly between the tiles. Make sure any excess is removed using a squeegee or dry sponge, then step up the clean-up with a moist sponge (not wet) to reveal the surface of the tiles. When you’re happy with the finish and you’ve levelled out the grout between the tiles, leave it to dry for around 24 hours. You can then protect it with a suitable bathroom tile sealant.
Get the supplies you need

FAQs
-
Do different types of walls need different preparation before tiling?
There will be some differences, but the steps are broadly the same. Whether you’re working with old or new plasterboard or plaster, you’ll need to fill in any cracks and sand the wall so it’s smooth. Try to leave a little bit of texture for the tile adhesive to stick onto.
-
How do I tile a bathroom floor?
When tiling a bathroom floor, the basic steps will include:
- Laying the underlayment
- Planning the tile configuration
- Applying the mortar
- Applying and sealing the grout
-
How do I remove tiles from the bathroom?
There are three basic steps to removing old bathroom tiles from a wall:
- Loosen the existing tiles
- Pry the tiles up
- Prepare the wall surface for the new tiles
-
How do I tile on plywood?
It’s not recommended to tile directly onto plywood as the wood will shrink and expand due to heat and humidity at a different rate to the tiles, which can eventually cause the tiles to crack and break.
-
How long does it take to tile a bathroom?
Of course, this will depend on the size of the bathroom. You’ll want to set aside a whole day at the very least for your tiling job, plus time to gather all your equipment.

By Rae Davis
Rae is a Digital Copywriter within the Selco Team with 10 years' experience in the construction industry and specialises in long-form content writing. With a love for research and simplifying complicated information into easy-to-follow content, she is known for her handy how-to blogs. When she’s not at her desk, she’s got her head either in a book or up in the clouds.