
A big part of your bathroom installation or renovation project will involve first and second fix electrical wiring. There are many bathroom appliances and fixtures that will require electricity to function, including lighting, extractor fans, underfloor heating, shower pumps and shaver sockets, so getting the electrical wiring right in the bathroom is important.
House wiring in general involves first fix electrical and second fix electrical stages, naturally in that order. This blog serves as a handy step-by-step guide to the main components of each stage, as well as providing a list of tools and equipment you might need along the way.
Remember to read our other bathroom blogs too for helpful advice, inspiration and step-by-step guides such as how to install underfloor heating and how to install an extractor fan. Since electrics and plumbing go hand-in-hand, you might also want to read our blog on how to plumb a bathroom: first and second fix.
What’s the difference between first and second fix electrics?
If you’re working on a newly built home or rewiring a property, you’ll need to understand the key differences between first fix electrics and second fix electrics and what tasks will need to be carried out during each electrical stage.
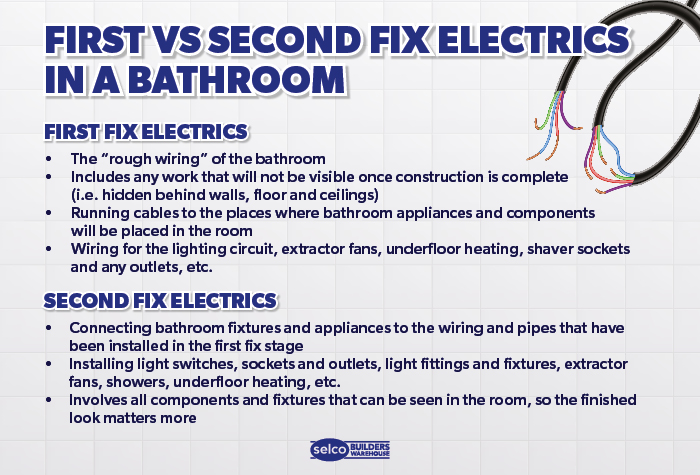
It’s crucial for a house’s electrical wiring to be in good condition and working correctly, and this is mainly dealt with at the first fix electrics stage. First fix refers to the initial ‘rough wiring’ of a building, where you’ll lay a good foundation for all the components of a system that electricity can run through. This usually involves electrical components that need to be wired before the rest of the construction of the building - any wiring or cabling that will be concealed behind walls and ceilings is carried out in the first fix stage, before plastering, carpeting or adding furnishings.
Second fix electrics involves connecting the components and appliances to the wiring installed in the first fix stage after the construction stage is complete. Once the walls have been plastered and insulated, carpets and floorboards have been fitted and the building is ready for furnishings and appliances, the second fix stage can begin. Second fix involves jobs such as fitting light switches, sockets, light fixtures, extractor fans, electric showers, installing a consumer unit connection and connecting central heating and cooling controls.
Your first and second fix electrical stages will most likely coincide with the first and second fix plumbing of the bathroom.
First fix electrics: everything you need to know
Assess the scale of the work
Some smaller bathrooms might require less electrical work at the first fix stage. It’s a good idea to draw a plan of the bathroom and determine where exactly everything will go, so you know where light switches and sockets need to be installed and where the cables need to run to get to them. At this point you can also assess how much time the first fix electrics will take and how many materials and resources you’ll need.
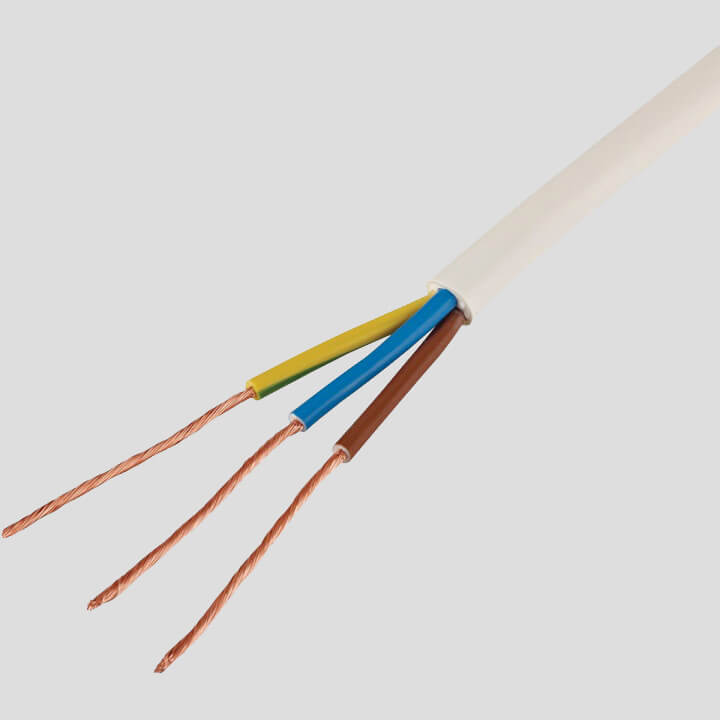
You'll need the right amount and type of cable. The most common type of cable is two-core-and-earth cable. Inside, the live core has brown insulation, the neutral core has blue insulation, and the earth core is uninsulated.
Three-core-and-earth cable should be used for lights requiring two-way switching. The cores inside this kind of cable will be brown, black and grey, with an extra uninsulated earth core.
Always protect the bare earth cores using green and yellow electrical sleeving before connecting the cable.
Cable is commonly 1, 1.5, 2.5, 4, 6 and 10mm² in diameters. Decide which size you need based on the current demand of the circuit and the bathroom fixtures it connects to. As ever, higher current demands need bigger cables.
Other accessories you might need include trunking and conduit, back boxes, grommets, cable clips, screws and wall plugs. View our electrical, lighting and ventilation section for everything you need to complete the job to the highest standard.
1st fix electrical – key questions to ask
How accessible are the areas you need to reach?
If you’re installing new cabling in an existing bathroom, can you install it underneath the floor covering, or will you need to pry up floorboards and skirting boards? If you’re installing cabling in the ceiling, make sure to survey multiple possible access points from both above and below – a bad approach to the fittings will always increase the difficulty of the job.
Are new spaces for cabling needed?
If there aren’t existing channels for the cabling where they’re needed, you’ll need to create them yourself in the walls, ceiling and floor.
How many items need to be powered?
At the very least you’re likely to be wiring or rewiring the light circuit. As well as this you might be installing underfloor heating, extractor fans and shower pumps, or repositioning shaver sockets and other outlets. Cables will need to run all around the room to power everything required in the places where they’re going to be installed.
Do you have the right people for the job?
Electric work can only be carried out by a qualified electrician, so if you’re not one yourself you’ll need to hire one as part of your team. Remember to factor this into any quotes for your customer.
Common first fix electrical tasks
Every bathroom project will be different, but below is a list of common tasks you’ll probably come across in the first fix electrical stage in a bathroom.
Lighting
Wiring or rewiring lighting, and installing light fittings, are amongst the most fundamental electrical requirements for most bathroom renovations. Some bathroom designs will only need a single light fitting, but many projects, especially in more modern bathrooms, can require much more extensive work.
Many contemporary bathroom spaces include recessed spotlights, which call for some extra work. You’ll need to cut holes in the ceiling as well as laying the necessary cables – make sure the area you’ve chosen for the light isn’t obstructed by joists or supports concealed in the ceiling.
Make sure to use a stepladder or workstand when working on jobs in the ceiling.
Ask your customer if they’d like any additional lights in the bathroom, such as around the bathroom mirror, under cabinets or above the shower. These lighting options might not occur to people until after everything is installed, so it’s good to ask about it now.
Underfloor heating
Underfloor heating is becoming more of a must-have than a luxury for modern bathrooms. Installing underfloor heating involves a few different steps at the first fix stage, including fitting a switched fuse spur and laying the wires for the thermostat, as well as placing the heating wire and temperature sensor/probe.
You can read more about the process in our blog on how to install underfloor heating in a bathroom.
Shaver sockets and other outlets
A shaver socket will usually be located next to the bathroom mirror. If you’re planning on installing or moving a shaver socket or other outlet, you’ll need to run new cables through the wall and fit a back box in preparation. Remember that sockets themselves will always be added at the second fix stage.
Extractor fan
Most bathrooms, especially in newly built homes, will require an extractor fan to be installed. They work by removing moisture and bad odours in the room and expelling them outside through vents and ducting. You’ll need to calculate how big of an extractor fan you’ll need, whether you’re going to install it in the wall or ceiling, and whether it will need ducting to get the air through to the outside vent.
You can read more about the process in our blog on how to install a bathroom extractor fan.
Shower pump
A shower pump can be connected to the electrical supply from a 230v switched spur off a ring main. It should never be connected to the supply of the cylinder immersion heater or any other high-load installation.
You should always be able to isolate the water supply both to and from the pump. Fit a 22mm full bore isolating valve to the cold-water pipe that supplies the pump. Generally, the pipework should be 22mm to reduce flow resistance to and from the pump. Best practice dictates that the pump should be supplied through 22mm pipework whether it has 22mm or 15mm connections.
You can use flexible hoses supplied with your shower pump to link to both the incoming supply and the outgoing delivery pipes. These are less prone to vibration from the pump, reduce noise and prevent damage.
The pipework should be thoroughly flushed prior to connecting the pump to prevent debris impairing its operation.
Additional circuits and outlets
Certain items need a 15-amp or 20-amp circuit of their own. If you’re fitting underfloor heating, a whirlpool tub or a towel warmer, you should consider whether you’ll have to install separate circuits.
Discuss with your customer about how many outlets they think they’ll need in the bathroom and what kind of appliances they use. A variety of outlets, of course, could mean several circuits.
An instantaneous electric shower requires a dedicated radial circuit running from the consumer unit. An electrician should use a heavy-duty 10mm² cable for the circuit and install a separate RCD fuse unit for the shower.
A shower circuit must have a double pole isolator switch (disconnects both live and neutral). For small bathrooms, the switch may need installing outside of the room. If you’re working in a large bathroom and wish to install the switch in the room, it should be of a pull cord type, generally located on the ceiling.

Second fix electrics: everything you need to know
This is the stage where you’ll see everything coming together into a usable bathroom space. The second fix electrical stage in a bathroom is usually much shorter and simpler than the first fix stage. Here, your customer’s bathroom design idea will become a reality as you’ll finally connect all the key bathroom fixtures and fittings to all the wires and pipes you’ve carefully laid out for them.
Most of the major electrical work will have been carried out in the first fix stage and here you’ll be installing the bathroom appliances that connect to the wiring that will now be hidden behind the walls, ceiling and floor. This includes installing light switches, sockets and outlets, as well as connecting extractor fans and light fittings or laying underfloor heating mats.
2nd fix electrics – key questions to ask
Do you have the right people for the job?
As before, you’ll need a qualified electrician to carry out any electrical work. If you’re not one yourself, you’ll need to hire one.
How long do you need to get the job done?
Each individual task might seem minor, especially when compared to the extensive work of the first fix stage, but when you consider everything needed to be completed in the second fix stage, the work can still add up.
Depending on the size of the bathroom and the number of appliances and components your customer has requested, it can be time-consuming to connect everything and make sure it’s working properly, so make sure to prepare for the work needed. A large bathroom with all the latest gadgets such as underfloor heating, recessed spotlights and a whirlpool tub is sure to take that little bit longer.
What will the finished result look like?
In first fix, the work needed is practical and functional. It’s a lot messier, and appearances are not as important as whether everything works as it should. In the second fix stage, cosmetic issues are a lot more important. As well as making sure everything is installed and connected safely and properly, you’ll need to make sure you use precision in everything you do. Uneven sockets with visible traces of adhesives and sealants won’t be a good look for your customer’s finished bathroom.
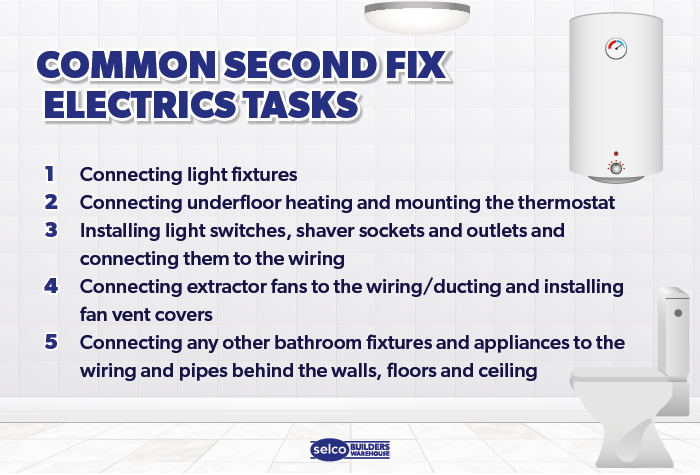
Common second fix electrical tasks
Again, every bathroom project will be different, but below is a list of common tasks you’ll probably come across in the second fix electrical stage in a bathroom:
Light fittings
You’ve ran all the cables you need for the bathroom lights through the walls and ceiling during the first fix stage. If the bathroom only has a simple pendant light in the middle of the ceiling, you won’t have to do much more other than connect the wires.
A lot of modern bathroom designs call for recessed spotlights. First, connect each light to the wires, then neatly slot each light into the hole you’ve measured and cut out in the ceiling. The fit should be completely snug with no extra space around the light, held in place by unseen spring clips. Make sure to use a stepladder or workstand to reach the ceiling safely and easily.
Underfloor heating thermostat
You’ll have chosen the location for the underfloor heating, run the cables and fixed the back box during the first fix stage. All that remains now is connecting the wires and mounting the thermostat itself.
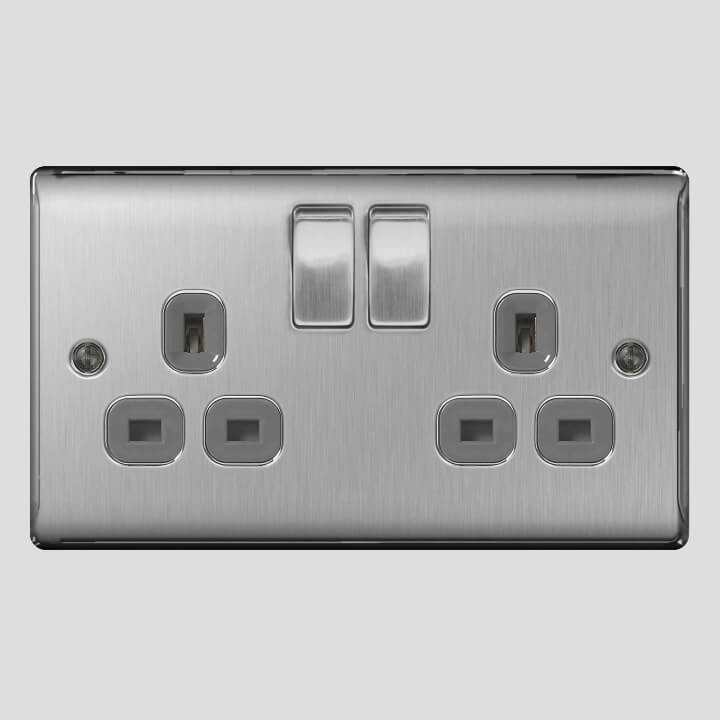
Shaver sockets and other outlets
Here you’ll connect the wires on the sockets and outlets to the main circuit you’ve laid out. The sockets should fit snugly in the holes you’ve created, and the wires should be connected properly. Use an appropriate sealant to secure the sockets and outlets in place.Extractor fan
Many extractor fans will be connected to the light circuit, so they’ll be turned on and off any time the light switch is. Again, you’ve already laid the cables that will connect the fan to the circuit and installed any ducting needed. Here you’ll join the wires to the fan unit itself and install the fan vent covers.
After all the bathroom fixtures and appliances have been fitted, you can decorate the bathroom as your customer desires.
Get the supplies you need to finish the job


By Rae Davis
Rae is a Digital Copywriter within the Selco Team with 10 years' experience in the construction industry and specialises in long-form content writing. With a love for research and simplifying complicated information into easy-to-follow content, she is known for her handy how-to blogs. When she’s not at her desk, she’s got her head either in a book or up in the clouds.