
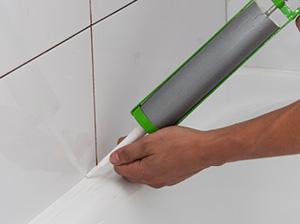
How to Seal a Bath or Shower
06.02.2025
Getting to the stage of sealing bathroom fixtures and fittings...

How to Fit a Toilet
06.10.2024
Installing a toilet might not be the most glamorous part of...
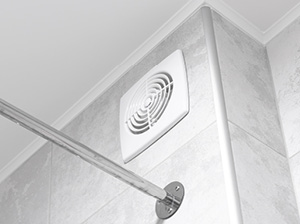
How to Install an Extractor Fan
03.10.2024
If you have a bathroom, you’ll need the appropriate ventilation....
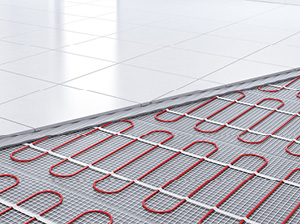
How to Install Underfloor Heating
02.10.2024
View our step-by-step guide to installing underfloor heating in a...
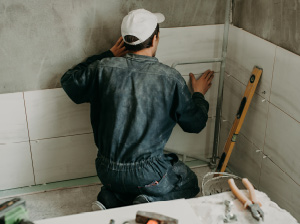
How to Tile a Bathroom Wall
01.10.2024
Tiling a bathroom wall is a likely job you’ll find yourself...
