
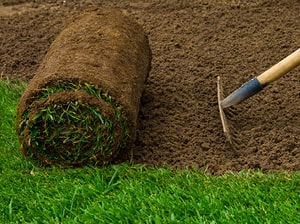
How to Lay Turf: Step-by-Step Turf Installation
03.02.2025
If your customer wants to create an instant green lawn...
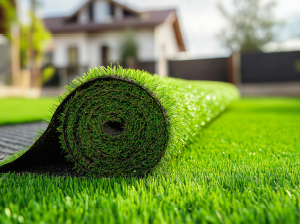
How to Lay Artificial Grass on Soil or Concrete
21.01.2025
Create a beautiful and bright green garden space without the...
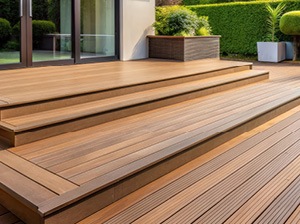
How to Lay Decking: Ground Level & Raised Decking
02.10.2024
This blog will walk you through the differences between ground....
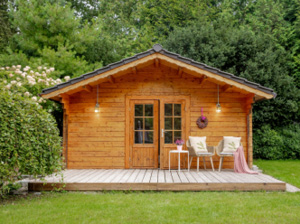
How to Build a Summerhouse, Step by Step
01.10.2024
View our step-by-step guide to building a summerhouse for....
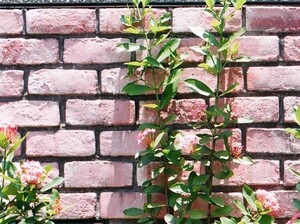
How to Build a Garden Wall or Retaining Wall
10.06.2024
There are several types of garden walls and...
