
The ultimate guide to installing garden decking for your customer
There are plenty of reasons your customer might want to install some garden decking in their outdoor space. Decking installation is a straightforward job when you’ve taken the time to research all the steps and tools required. Building a garden deck is a great opportunity for your customers to create a space for relaxing or entertaining in their garden, whether they want a practical area for a hot tub, a barbeque, garden seating, al fresco dining, or even a kids play area. We've put together a handy step-by-step guide on how to lay ground-level and raised decking to help you get the job done. Plus, we've got plenty of other handy landscaping blogs to browse through, such as how to lay a block paving driveway.
Preparing for decking installation – everything you need to know
There are a few important points to consider before you start laying decking boards. You’ll need to have an initial chat with your customer to discuss where they want their decking to be so you can assess the area. Consider how much the ground slopes and whether it needs levelling, and what’s best in terms of the amount of sunlight the area gets and its proximity to other garden fixtures.
Will the decking connect to the house directly? Will you be working with timber decking boards or composite decking boards? You’ll also need to consider the size of the deck boards, and the required expansion gap needed. Once you’ve decided on all the components of your garden decking installation project, the work can begin.
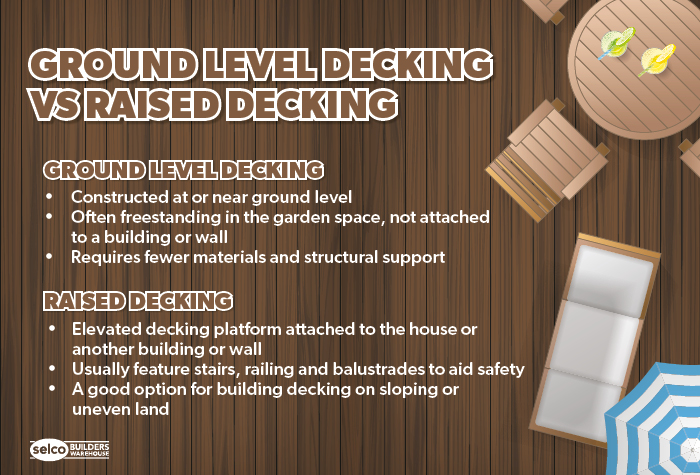
What’s the difference between ground level decking and raised decking?
Another crucial question to ask your customer is whether they want ground level decking or raised decking. Ground level decking is installed at ground level and are usually freestanding in the garden, meaning they’re not connected to the house or any other building. This type of decking construction requires fewer materials, such as structural supports and railings. Raised decking is an elevated decking platform usually attached to the house (or another building or wall) and is supported by pillars. They often have stairs with handrails and railing around the decking for safety and are a good option for sloping land. This blog will outline how to build a deck your customer will love, whatever type they’ve opted for.
Gather your tools and equipment
Each decking installation project will be slightly different depending on the type of deck boards you’re using, whether you’re creating ground level or raised decking, as well as your customer’s budget, personal preferences and the amount of space they have available. Here is a general list of some supplies you might need for most garden decking projects:
- Tape measure
- Wooden stakes, club hammer & string
- Lawn edger & spade
- Weed control fabric
- Spirit level
- Chosen base (i.e. concrete, paving slabs, gravel)
- Trowel (if using concrete)
- Saw (circular, mitre, panel or jigsaw depending on the cuts needed)
- Joists / timber for decking frame
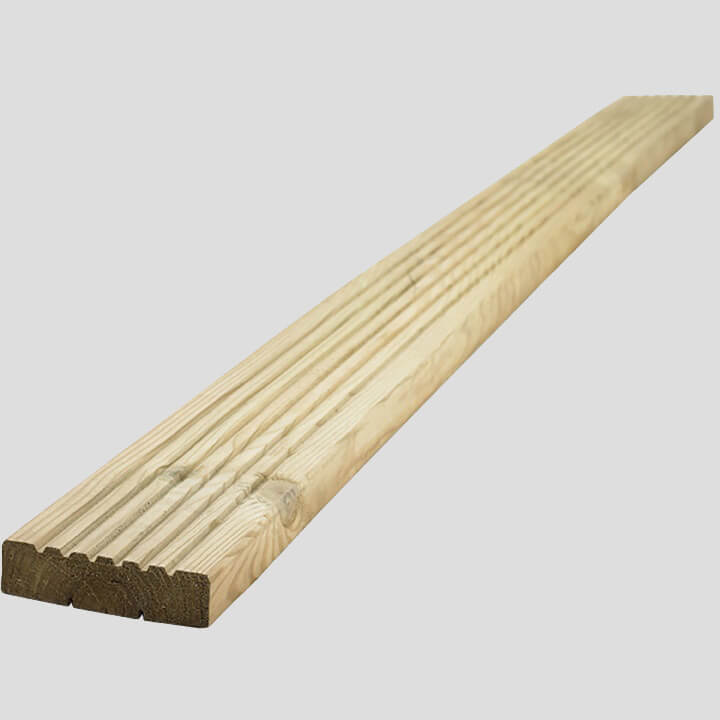
- Decking boards
- Decking screws, nails, coach screws & bolts for joists
- Drill & appropriate drill bits
- Sandpaper / sander
- Deck stain / protector & paint brush
- End grain protector
- Decking posts, base rail, handrail, spindles, stair treads & risers (if installing raised decking)
- Exterior wood adhesive
- Pencil
Measure the area and level the ground
A stable, level ground is crucial for your decking boards. A stable ground means a stable base and decking that will be more robust and resistant to warping, splitting or shifting over time.
If you’re installing decking on grass, measure the area you’ll be laying the decking with a tape measure and mark it out with wooden pegs and string. If you’re installing the decking over a concrete base or on top of patio paving slabs, you can measure and mark out the area on top. By calculating the area of the decking space you’ll be able to determine the number of deck boards and other materials you’ll need.
Then you can move on to shifting any turf and topsoil, if necessary, to ensure the ground is level before you start building your base.
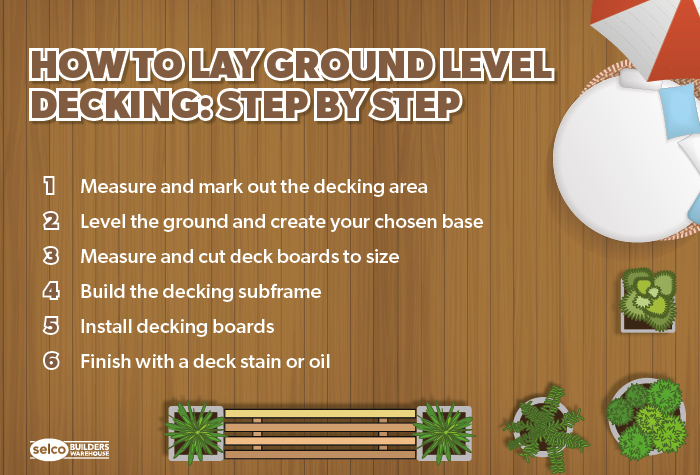
How to lay ground level decking, step by step:
If you’ve decided on a ground level decking installation, the process is relatively simple. Whether you’re new to landscaping jobs, just need a refresher or want an overview to show your customer the steps, here we’ve outlined a step-by-step guide on how to lay decking boards at ground level.
Step one: Choose your decking base
- How to lay decking on grass: After you’ve marked out the area with your wooden stakes and string, use a lawn edger to cut out the edges of the decking area and remove the turf before digging the soil out to a depth of around 50mm. Cover with a weed control fabric before adding a layer of gravel or pea shingle.
- How to lay decking on soil: If you’re installing the deck boards on top of soft soil, you can follow the previous steps and add paving stones on top of the gravel to support the joists and decking. Make sure to use a spirit level to make sure everything is even.
- How to lay decking on concrete: If you’d like your decking to have extra stability and longevity, using a concrete base / concrete pads is an excellent choice. For concrete pads, work out exactly where they’re required then dig even, square holes before filling them with a quick-dry concrete. Use a trowel to level them if needed, then after the concrete is completely dry, add your weed control fabric, layer of gravel and damp-proof course.
Step two: Measure and cut your deck boards to size
Depending on the number of cuts needed, the material your deck boards are made from, and how deep or awkward the cuts are, you could use a panel saw, jigsaw, circular saw or mitre saw.
Cut your decking boards to the desired size and layout.
Step three: How to build a decking subframe
Measure your deck frame and cut it to size, making sure everything will line up when the decking board is added on top. Remember to allow room for the appropriate expansion gaps for your decking. Timber decking needs a 5-8mm expansion gap along the lengths of the decking boards and a 3mm gap at the ends, while solid composite decking boards need a 6mm gap along the lengths and a 3mm gap at the ends.
After assembling your outer deck frame, you’ll join it together at the corners. Use a drill bit to drill pilot holes, then either a drill driver with socket attachment or a socket and ratchet to secure the coach screws into place through the outer joists’ corners.
Next, you’ll add the inner joists to the frame with the correct decking joists spacing. The recommended deck spacing between joists is 400mm (no more than 450mm). Secure each joist to the outer frame using timber drive screws, always making sure the end of the joist sits flush to the frame. For extra stability, you can secure the joists further with joist hangers and screws.
Top tip: If you want to conceal the joists so they can’t be seen through the spaces in the deck boards, you can paint the top of them black.
Add noggins between the internal joists to provide your timber decking frame with extra durability. They should fit flush between the internal joists. Try to stagger them throughout the frame and ensure the distance between each noggin is no more than 1200mm.
Step four: How to install decking boards
When you’re laying decking boards it’s best to pre-drill all holes to prevent splitting the timber – you can countersink all holes to achieve a flush, smooth finish to all screws.
Start with the first deck board, ensuring it sits flush with the outer frame and is laid in the opposite direction to the internal joists. Each deck board must be secured to every internal joist it covers. Secure each decking board one at a time, using spacers to ensure the 5-8mm expansion gap is left between the boards.
You can use a sander or sandpaper to smooth any roughly cut edges and use an end grain preserver to paint the ends of each decking board to protect the timber from damp and rot. Once that’s dry, use a deck stain, oil, or external wood paint to protect the whole timber decking and change its colour or finish, if desired.
You can watch Silverline’s video below on how to install timber decking:
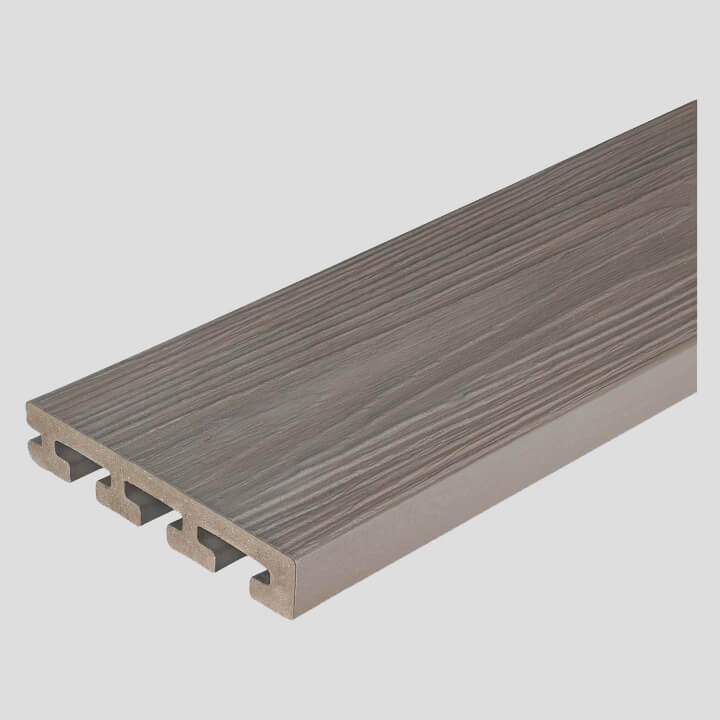
How to lay composite decking
When it comes to composite decking installation, these steps might be slightly different. Fitting composite deck boards is a straightforward process and isn’t any more difficult than laying timber deck boards. The key difference is that composite decking has grooved side edges and a hidden fastening system. The hidden fasteners are placed in the centre of each internal joist beneath the board where it sits underneath the composite board’s groove. Screw in each fastener about 75% of the way at first – always lay down the next board before fully tightening the screws in the previous board.
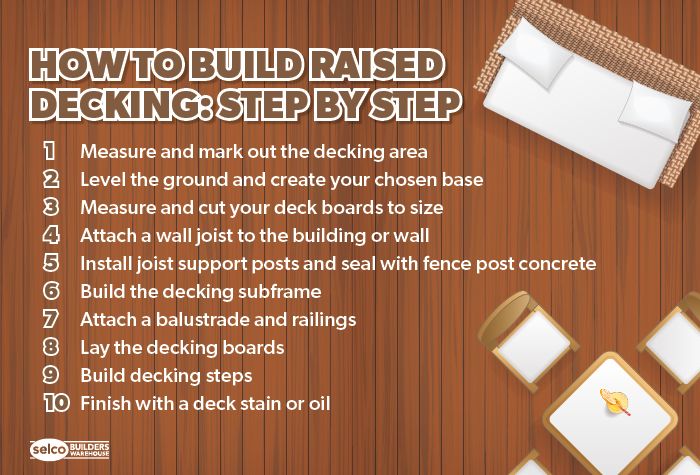
How to lay raised decking, step by step:
Building an elevated decking area is a great way to make use of uneven or sloping space. If you’ve been wondering how to lay decking on uneven ground, a raised deck is the perfect solution.
Planning permission: Before you begin, you need to check if you need planning permission for your raised decking. You won’t need planning permission so long as the deck is no more than 30cm from the ground, the decking isn’t near the front wall of the house, and the decking area doesn’t cover more than 50% of the garden.
As you’d expect, many of the steps for building a raised deck are the same as building a ground level one. However, there’s the main additional task of creating a joist sub-frame.
As with ground level decking, you’ll start by clearing the space, measuring and marking out the desired decking area and levelling the ground. Use a lawn edger to cut out the edges of the decking area and remove the turf before digging the soil out to a depth of around 50mm.
Step one: Attach a wall joist
If your raised decking isn’t going to be attached to a building or wall, you can skip this step.
If your decking is attached to the house, you'll need one of the joists must be installed directly against the wall - the rest of the sub-frame will be built in line with it. Pre-drill holes across the length of the joist, then hold it up to the wall and make sure it's level. Mark the brickwork through the pre-drilled holes, then remove the joist and drill the holes into the wall. When you install the joist, leave a small gap between the joist and the wall to allow rainwater to run down (stainless steel washers are a good choice to help leave a 10mm gap).
Step two: Install joist support posts
Dig holes for your joist support posts around the outer frame of your raised decking. You’ll need four corner posts, one in each corner, as well as at least one post in between each corner post and one in the centre of the decking. Each hole should be around 300 x 300mm in size and around 700mm deep. You can place half of an aerated block in the bottom of each hole for added stability. Place the decking posts into the holes, propping them up with pieces of timber to hold them in place for now. Use a spirit level to ensure they’re completely straight.
Next, pour your quick-drying fence post concrete (postcrete) into the holes, ensuring it spreads evenly around the bottom of the post and is sloped slightly away from the post to aid drainage. Keep checking your spirit level, and once the concrete is dry you can remove the timber supports.
Step three: Build the decking frame
As above in the guide to laying ground level decking, you’ll measure and cut the outer frame, internal joists, noggins and any additional support beams for your deck frame and secure it all together, attaching it to the foundation decking posts you’ve installed. Use your spirit level to ensure everything is even.
Step four: Attach a balustrade and railings
It’s important to attach any balustrades or railings to your raised decking before laying the deck boards. This is because the deck boards can be fitted around the railing to ensure an accurate fit.
You can slot deck posts in the gaps between the corner posts and internal joist of the decking subframe, securing them with coach screws. Build your decking balustrade by attaching your decking spindles to your decking handrail and base rail – position each spindle around 100mm apart and screw everything together using deck screws. You can secure your decking balustrade to the deck posts using wooden dowels and exterior wood glue.
Step five: Lay the decking boards
As with ground level decking, you’ll lay your deck boards one at a time, securing them to the internal joists below and allowing for the appropriate expansion gap. The deck boards that sit flush to the outer frame will need to be cut to fit around the deck posts. Mark the shape of the post accurately on the deck board and cut out the square with a jigsaw, before slotting the board in place for a perfect fit.
Step six: Building decking steps
If you’d like to add some steps for easy access up to the decking platform, it’s best to buy pre-made decking step kits that will include stair risers and treads.
Alternatively, you can build your own decking steps using deck boards and joist off-cuts. If there isn’t a strong surface underneath where the steps will go, consider laying some hardscape such as paving slabs. Build your steps with a stair tread (width) of no less than 760mm (around 900mm is recommended) and a stair riser (height) of around 150-180mm.
Get the supplies you need to finish your decking project


FAQs
-
How many decking boards do I need?
First, multiply the length of the decking space by the width to determine the area, before doing the same for a single deck board. Then you just need to divide the decking area’s square footage by one deck board’s square footage to determine how many deck boards you’ll need.
-
What size timber do I need for a decking frame?
For ground level decking, it’s best to use C16 graded joists that are 45m x 92mm. For raised decks, use 45mm x 145mm joists.
-
What is the best timber for a decking frame?
The best type of timber to use to build your decking frames is pressure-treated softwood. Treated timber has been pressure-treated with preservative chemicals to help protect it from rot, decay, insects and fungi.
-
Should I install decking or slabs?
Decking is quicker and more affordable to install than paving slabs, however patios will last longer and require little-to-no maintenance. If you want to create a raised platform, however, you’ll want to use decking boards.

By Rae Davis
Rae is a Digital Copywriter within the Selco Team with 10 years' experience in the construction industry and specialises in long-form content writing. With a love for research and simplifying complicated information into easy-to-follow content, she is known for her handy how-to blogs. When she’s not at her desk, she’s got her head either in a book or up in the clouds.
< Back to Gardening and Landscaping