
Installing garden fencing
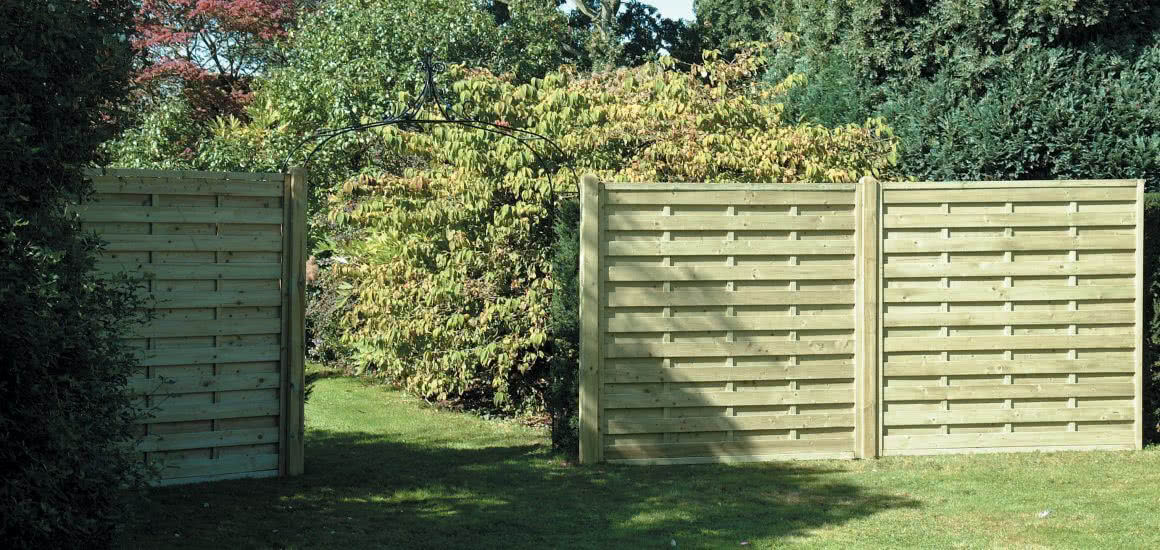
There’s a good chance that installing a garden fence is among the most popular outdoor jobs your gardening and landscaping services tend to be required for. You’ll have seen as many different types of fences over the years as there are different types of client.
Whether your client is after decorative fencing or something more straightforward and practical, such as a metal fence, the installation process will usually be the same. You’ll be more than familiar with it by now, however, the quick guide below can help act as a prompt to pick up any tools or fencing supplies you’re running low on. It may also be useful for chatting things through with your client.
-
1. Fence installation, step by step
1. Measure up and mark out
Just like almost every job, this one begins with measuring the area you’ll be working with using your tape measure, then marking out the space you’re going to use. The method is one you’ll have employed hundreds of times, in different situations: mark the spot by hammering wooden stakes into the ground in a straight line, then join them up with string.
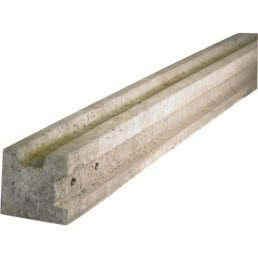
2. Make holes for your fence posts
Mark the places you’ll be putting the fence posts then dig spaces for them using one of your garden spades.
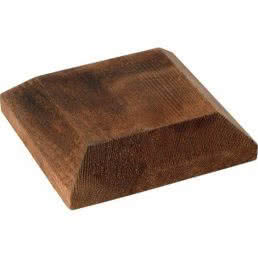
3. Protect the posts
You’ll have your own preferred method of protecting fence posts, but opting to apply a couple of coats of bitumen-based paint using a paint brush is always a safe bet. However our incised fence posts have a 15 year service life which will stand the test of time.
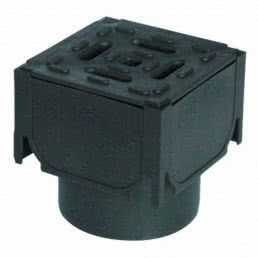
4. Put down a gravel board
In rainy climates, smart drainage solutions are all-important – as any contractor working in the UK knows all too well. A gravel board is non-essential but if you do want to reduce water damage to the base of your fence, this is a good option. Now’s the time to install it along the foot of the area where the fence will go.
5. Attach panels and posts
Drill pilot holes in each fence panel then use these to screw the panel onto two posts. Move the panel and its two posts into place and insert the posts into the holes you’ve dug for them. You’ll usually keep a length of batten to hand to prop up the fence panels. Alternatively you can use Metpost U clip to secure the fence panel to the post.

6. Check your levels
Time to bring out your spirit level and check everything is as it should be. Top up your fence post holes with rubble if you need to.
7. Concrete fence posts into place
Once you’ve followed steps five and six for each of the fence panels and posts, concrete the posts to keep them in place. Your preference might be mixing your cement yourself or buying ready-mixed cement. Either way, you’ll finish by tamping the concrete down so you can lay soil or turf over it once it’s set.
FAQs
-
Do I need planning permission for a garden fence?
You will need permission for any fence over two metres high, and over one metre high if it’s by a public highway.
If your client makes changes to their fencing at a later stage, they will also require consent if the building is listed.
-
What are the most useful fence supplies?
When installing fencing you’ll want to have the follow tools and equipment ready to use:
- Drainage supplies
- Landscaping and fencing supplies
- Fence panels
- Fence posts
- Cement, additives and floor levelling compounds
- Hand and power tools