
Bath installation and connection
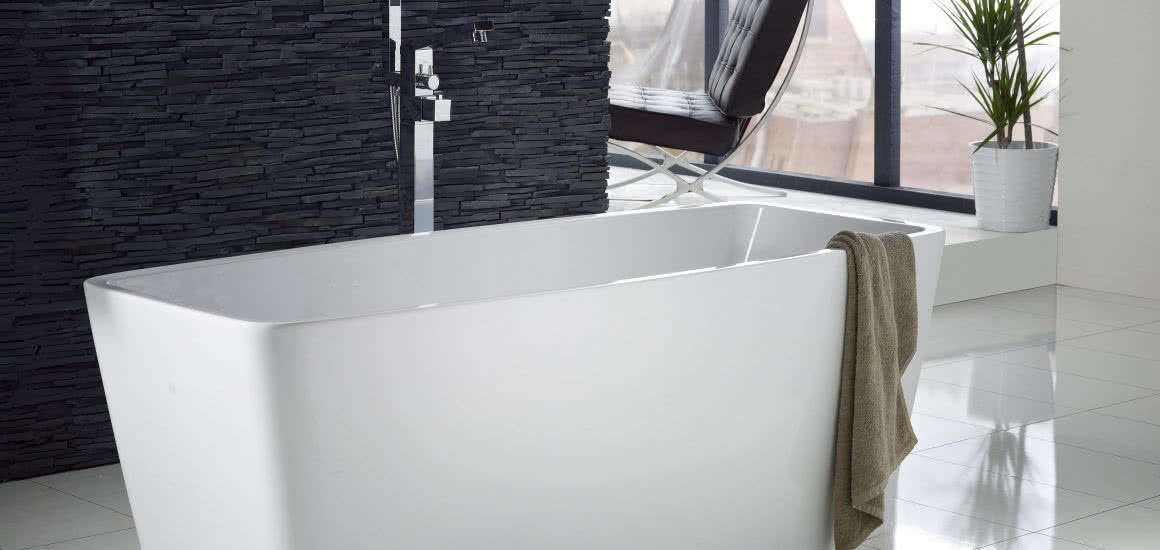
Not all of your clients will favour bathroom designs involving a bathtub, but for those who do, this will be one of the most important features of the room. It’s no good having a bathtub that doesn’t facilitate relaxation. You know that this means getting the installation right so that everything works just as it should, causing no extra stresses for your client when they just want to zone out.
As with all bathroom fixtures and fittings, getting the aesthetics right is key. The bathtub is not only a functional item, it is also likely to be the largest piece of bathroom furniture your clients will order. In many ways, it is the centrepiece of the room, so taking care to choose a bathtub that makes sense within the space is crucial.
As you’ve undoubtedly experienced before when installing fitted bathroom furniture, attention to detail is everything. By now, you know that planning and consideration are key to the best client feedback.
-
1. Planning ahead
Although the bath is a very large item, installing it won’t necessarily be an enormous and time-consuming task for you. With plenty of careful planning, you can minimise the effort involved in putting the bath in, leaving plenty of time to concentrate on your other bathroom fixtures and fittings.
Here are a few common-sense points that are always useful to remember in the pre-installation stages.
Use what’s already there
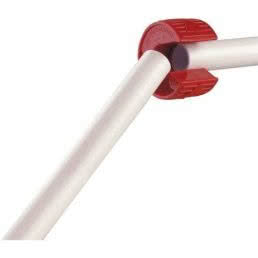
If you’re replacing an existing bathtub rather than installing a new one from scratch, see if you can reuse the existing waste and supply pipes without changing their position. This will save crucial time and effort in your tight schedule. Use push-fit joints to connect extra lengths of pipe if you do need to change the direction of the waste pipe.
Sometimes, smaller is better
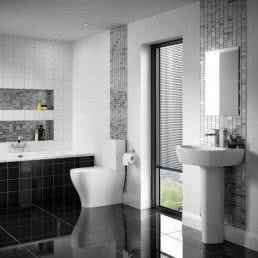
Many clients will want to opt for a more spacious bath – people like their luxury. However, before you commit to a certain model, talk your client through what is best for the particular bathroom you’re working with. Many don’t consider the space of the room and whether their preferred choice will easily fit into the design.
Even if it does fit, you should take the size of the bathroom into account. We’ve all seen small bathroom designs that are completely taken over by large bathtubs, leaving little space for the other features that can make a bathroom feel welcoming.
It may seem obvious, but it’s also worth thinking seriously about how you will get the bathtub into the bathroom to save you a major headache at installation time. Ensure that the bathtub they’ve chosen will fit through all the doors and hallways it will need to pass through.
Find the safe spots
Use a cable, pipe and stud detector to make sure that the chosen spot has plenty of safe areas in the wall and floor that can be used as fixing points.
Make sure the taps match
Order compatible taps if you are working with a bath that already has holes drilled in the rim for the taps.
Lay flooring at the right time
Another simple rule that saves a lot of time: if you are installing a freestanding bath tub, remember to put the bathroom tiles underneath it down first. Once the bathtub is in, it will be impossible to tile neatly around the feet. If your bathtub is closed in, however, the area beneath will be hidden by a panel, so you don’t need to worry about tiling this part of the floor.
Fit the shower first
Don’t forget to carry out key parts of the bathroom plumbing before the bathtub is installed. In particular, if the bathtub is going to have a shower over it, this needs to be plumbed first.
-
2. Steps to installing a bathtub
Every bathroom is different, but as a general rule, these are the stages likely to be involved.
Step 1: Assemble the bathtub’s legs
If your client’s bathtub has feet and legs, you will need to attach the leg frames to the bath rim, then screw the feet into the frame. Get out your trusty spirit level to measure the leg height when it’s upside down.
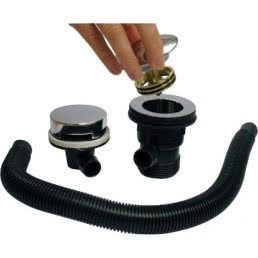
Step 2: Add in the other separate parts
At this stage, you will need to connect the waste system and put the plughole together, using silicone sealant if necessary.
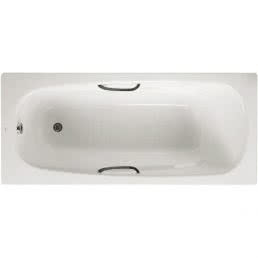
This is also when you should bolt on hand grips, if the bathtub has them. In most cases, holes for these should already be drilled in the bathtub.
Finally, attach the taps using the washers, gaskets and nuts provided. As ever, be careful to ensure the nuts are secure, but not overly tight.
Step 3: Position the bathtub
Place the bath against the wall, check its position with your good old spirit level and draw a line on the wall around the rim to mark where it will be fitted.
Move the bath out of the way and apply silicone along below the line. Drill holes for the brackets that will attach the bath, then screw the bath securely into place.
Step 4: Connect up the plumbing
Join up the waste and connect the taps to the water supply. This will be simple for you, using flexible tap connectors.
With this done, turn the water on so you can make sure there are no leaks.
Step 5: Secure the bath to the floor
Attach the bath to the floor using short screws in the bath feet.
Step 6: Attach the panels
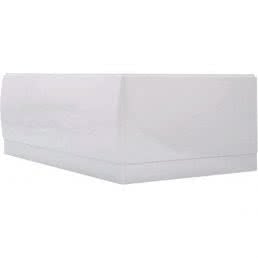
If you’re working with a freestanding bathtub, you can skip this step. If not, however, you’ll need to put in a bath panel. You already know how important this final aesthetic step is; a neat and professional job will ensure your client is happy with their bathroom fixtures and fittings.
Use that spirit level once more to find the right positions to screw in wooden floor battens. These will hold the panel in place, which should fit neatly under the rim of the bathtub.
-
Bathroom suites >
-
Baths >
-
Bath panels and screens >
-
Wastes and pipework >
-
Plumbing tools >
-

Sealants and adhesives >
FAQs
-
How do I seal a bathtub?
The process for sealing a bathtub or shower is very similar to the process for sealing any other item of fitted bathroom furniture. However, there’s one obvious difference: the need to use a flexible sealant on bathtubs and showers so that it stands up to pressure without cracking.
Find out more on bath tub sealing.
-
When do I fit the flooring in a bath installation?
For a freestanding bath, lay the bathroom tiles underneath it first. Yet if your bathtub is closed in, you don’t need to tile this area.

-
How do I remove the bath?
Disconnect the waterpipes feeding the tap. If the bath isn’t free standing, get rid of the panel hiding the plumbing.